Now that I have a skeleton 6502 assembly project set up and building, it’s time to get going and writing some real code for the ROM monitor. But wait, there’s just one more thing I need to get set up, and that’s an emulator so I can test code easily. Without an emulator, I’d have to flash a new ROM image to an EPROM and put it into a real 6502 computer every time I wanted to run it, and debugging would be very, very hard. Luckily for me, I wrote a 6502 emulator called Symon a couple of years ago! You can download it from Github if you want to follow along.

Symon will allow me to run code from a ROM image, single-step through the instructions, and examine the state of the registers and memory for debugging purposes. With that up and running, I can finally get started.
Console IO
The 6502 computer I’m using talks to the world through a 6551 ACIA located at base address $8800. The ACIA has a couple of special registers at the following addresses
| Address | Name | Description |
|---|---|---|
$8800 | R/W | Read and Write data to and from the console |
$8801 | STATUS | Read the current status of the ACIA |
$8802 | COMMAND | Write set-up commands to the ACIA |
$8803 | CONTROL | Control the ACIA’s baud rate generator |
In order to write data out to the console, we first need to check the status register and make sure that bit 4 (“Transmitter data register empty”) is set to a 1. If it is, we just write the character to address $8800 and it will be sent to the console. If it’s a 0, we just wait for it to become a 1. Easy! Here’s what it looks like in assembler:
First, we’ll define some constants:
;;; ----------------------------------------------------------------------
;;; IO Addresses
;;; ----------------------------------------------------------------------

        IORW    = $8800         ; ACIA base address, R/W registers
        IOST    = IORW+1        ; ACIA status register
        IOCMD   = IORW+2        ; ACIA command register
        IOCTL   = IORW+3        ; ACIA control register
And then, we’ll write the code:
COUT:   PHA                     ; Save accumulator
@loop:  LDA     IOST            ; Is TX register empty?
        AND     #$10
        BEQ     @loop           ; No, wait for empty
        PLA                     ; Yes, restore char & print
        STA     IORW
        RTS                     ; Return
I’ve named this subroutine COUT. It will be used quite a bit by the ROM monitor.
It also demonstrates one of my favorite features of the ca65 assembler: cheap local labels. Any label starting with an @-sign is only has scope between the nearest two regular labels, so I can re-use the name @loop in other contexts without worry. Very convenient!
Testing It
OK, so let’s test it. First, I’ll change my monitor start-up code to set the baud rate properly, then I’ll print a single “@” to the console, and finally enter an infinite loop.
START:
        LDA     #$1D            ; Set ACIA to 8N1, 9600 baud
        STA     IOCTL           ;   ($1D = 8 bits, 1 stop bit, 9600)
        LDA     #$0B            ;   ($0B = no parity, irq disabled)
        STA     IOCMD           ;

        LDA     #'@'            ; Load the character '@' into A
        JSR     COUT            ; Call COUT

        BNE     *               ; Just drop into an infinite loop
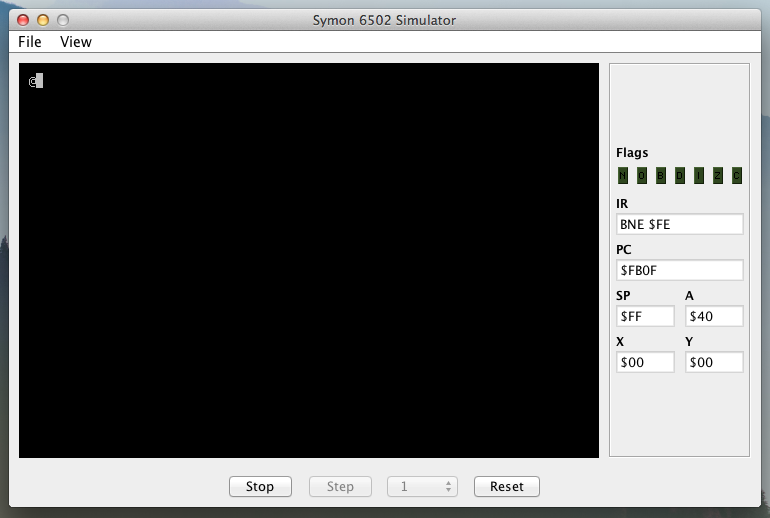
Now I’ll compile it and test it in the emulator.

Rock on! That worked! I can print a character to the console now.
Going Further
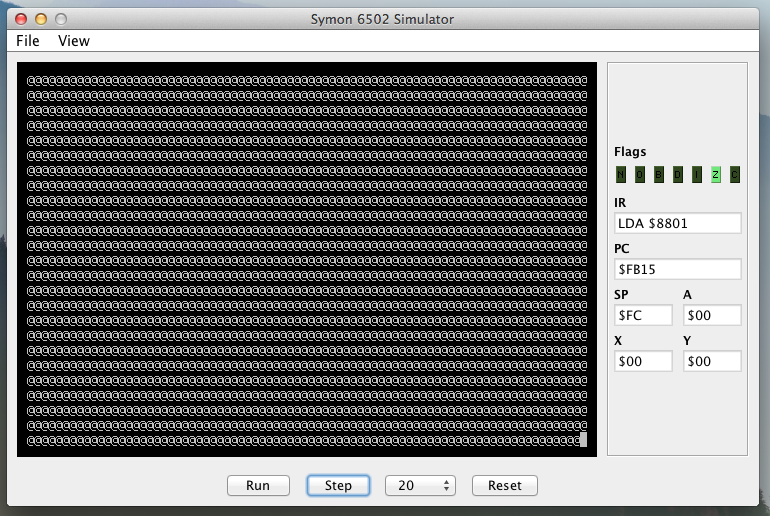
If I can print one character, I can print lots of characters. Let’s make a tiny change to print “@” to the console continuously instead of just one time, by adding a label and changing where the BNE branches to.
IOINIT: LDA     #$1D            ; Set ACIA to 8N1, 9600 baud
        STA     IOCTL           ;   ($1D = 8 bits, 1 stop bit, 9600)
        LDA     #$0B            ;   ($0B = no parity, irq disabled)
        STA     IOCMD           ;

PRLOOP: LDA     #'@'            ; Load the caracter '@' into A
        JSR     COUT            ; Call COUT
        BNE     PRLOOP          ; Accumulator is not 0, so do it again
Now we get a continuous stream of “@” printed to the console, just as predicted

Wrapping It Up
The final thing I’d like to do for today is get whole strings printing to the console. Sure, it feels good to print a character, but wouldn’t it feel better if we were doing more?
Let’s start by defining a string to print. Let’s just make it a variation on the standard “Hello, world!”
;;; ----------------------------------------------------------------------
;;; Data
;;; ----------------------------------------------------------------------

HELLO:  .byte   "HELLO, 6502 WORLD! ",0
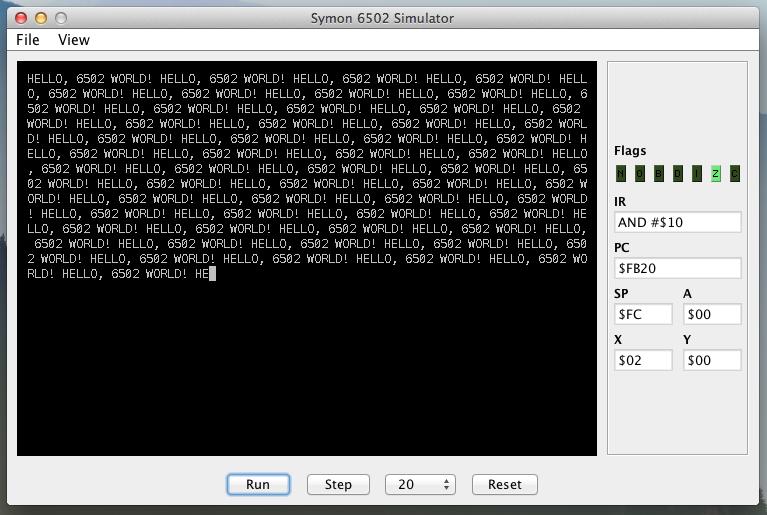
Now, we’ll modify the printing code to use the X register as an offset into the string, indexing into it character by character. Since the string is null-terminated with a 0, we’ll always be able to tell when we’re at the end of the string.
PRSTR:  LDX     #$00            ; Set the X index to 0

NXTCHR: LDA     HELLO,X         ; Load character pointed to by X
        BEQ     PRSTR           ; If it's == 0, we're done - loop!
        JSR     COUT            ; If we're not done, Call COUT
        INX                     ; Point to the next character
        JMP     NXTCHR          ;
And voilà! It’s working.

OK, that’s enough for tonight. As always, you can follow along by looking at the project on my Github as I go.
Tomorrow, I’ll tackle the other direction - reading input from the console.
Comments